Easy Pumpkin Hat Free Crochet Pattern for Beginners
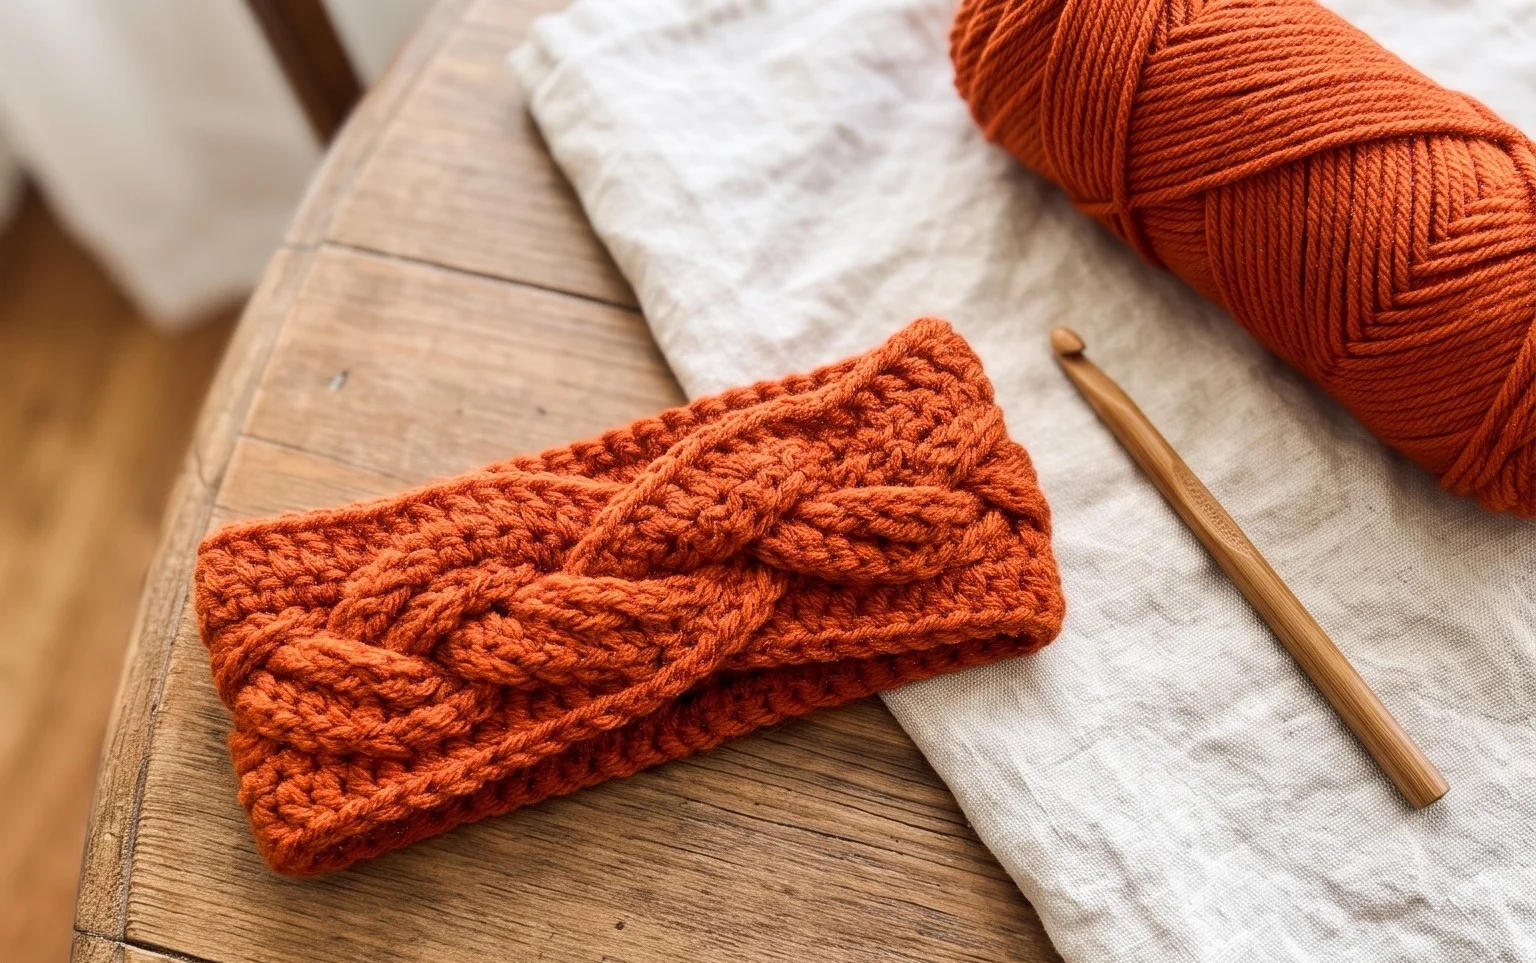
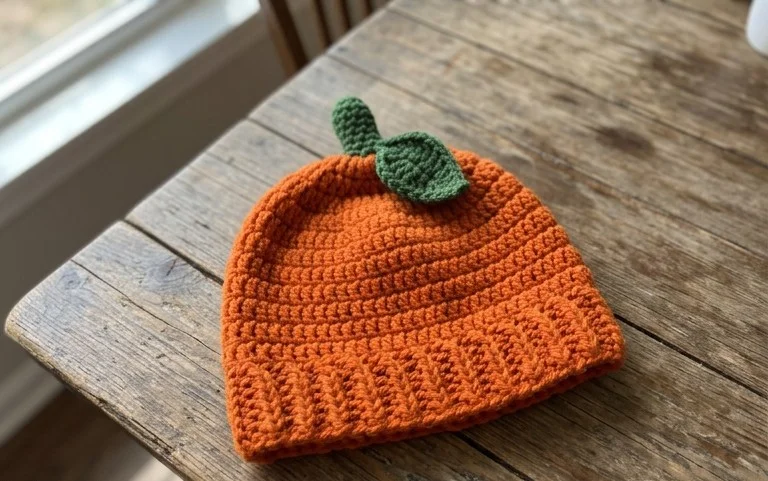
Soft ridges of wool wrapped in deep autumnal tones make these hats a highlight of any seasonal wardrobe. The dense stitches provide extra warmth against biting wind, while the rounded crown adds a cozy silhouette that fits snugly over the ears. Beginners often find this project rewarding because the repetitive motion builds muscle memory quickly, turning a simple ball of worsted yarn into a finished accessory within a single afternoon. You will learn to manage tension during the ribbing phase and master the smooth transition into circular shaping for the top, resulting in a professional, custom-fit garment that lasts for years.
Why You’ll Love This Pattern
The Classic Crochet Beanie is a staple project for any fiber artist because it relies on a simple, rhythmic repetition of stitches that builds height quickly. You will appreciate how the half double crochet stitch creates a dense, warm fabric that feels professional yet remains soft against the skin. Because the construction starts from the bottom ribbing and works upward, you can easily try the hat on as you go to ensure a custom fit. This pattern is particularly friendly for those working with variegated or self-striping yarns, as the uniform stitch pattern allows the colors to shift naturally without the distraction of complex texture changes.
I finished this hat in one sitting while watching a movie. The instructions were very easy to follow and it fit perfectly on the first try.
— Sarah, hobbyist crocheter
Pattern Overview & Skill Level
- Skill Level: Beginner
- Approximate Time: 3 to 4 hours
- Construction: Worked flat for the ribbing, then joined into a tube and worked in joined rounds for the body, finishing with a gathered crown.
- Finished Dimensions & Sizing: Adult Medium, 20 inches circumference, 9 inches height.
Materials & Supplies Needed
- Yarn: Worsted weight #4, wool or acrylic blend, approximately 200 yards.
- Hook Size: 5.0 mm (H-8).
- Notions: Tapestry needle for weaving ends, stitch markers to track round starts, and scissors.
- Yarn Substitutions: You may use cotton yarn, though it will result in a heavier hat with less natural stretch. Using a lighter weight yarn will require an increase in starting chains and rounds to maintain the adult size.
Stitch Guide & Abbreviations (US Terms)
- ch = chain
- sc = single crochet
- hdc = half double crochet
- sl st = slip stitch
- BLO = back loop only (insert hook under the back loop of the stitch only)
- st/sts = stitch/stitches
- hdc2tog = half double crochet 2 stitches together (decrease)
Step-by-Step Pattern Instructions
Ribbed Brim
The brim is worked in rows and joined to form a circle.
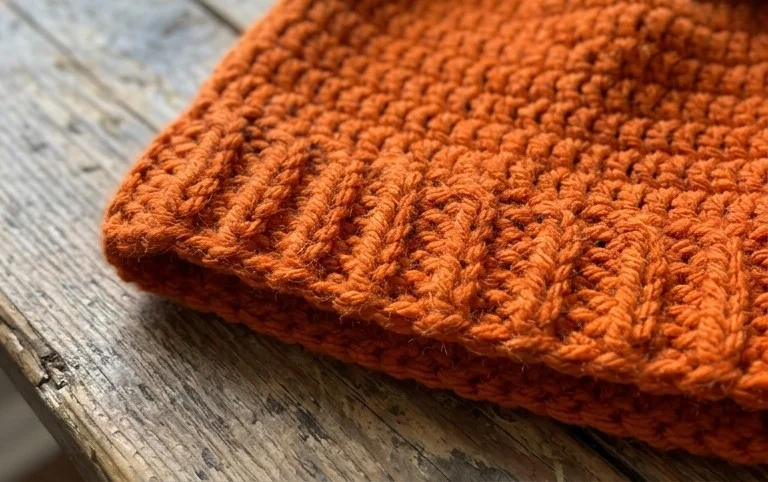
- Row 1: Ch 9. Sc in 2nd ch from hook and each ch across. (8 sts)
- Rows 2–72: Ch 1, turn. Working in BLO, sc in each st across. (8 sts)
- Joining: Fold the strip in half, matching the foundation chain to the last row. Sl st through both layers to join into a ring. Turn the piece right-side out.
Hat Body
Working along the edge of the ribbed brim, transition to circular rounds.
- Rnd 1: Ch 1, work 72 sc evenly around the top edge of the brim. Join with sl st to the first sc. (72 sts)
- Rnd 2: Ch 2 (counts as hdc), hdc in each st around. Join with sl st to top of ch 2. (72 sts)
- Rnds 3–15: Repeat Rnd 2. (72 sts)
Crown Shaping
Decrease rounds close the top of the beanie.
- Rnd 16: Ch 2, hdc 7, hdc2tog, repeat from * to * around. Join with sl st. (64 sts)
- Rnd 17: Ch 2, hdc 6, hdc2tog, repeat from * to * around. Join with sl st. (56 sts)
- Rnd 18: Ch 2, hdc 5, hdc2tog, repeat from * to * around. Join with sl st. (48 sts)
- Rnd 19: Ch 2, hdc 4, hdc2tog, repeat from * to * around. Join with sl st. (40 sts)
- Rnd 20: Ch 2, hdc 3, hdc2tog, repeat from * to * around. Join with sl st. (32 sts)
- Rnd 21: Ch 2, hdc 2, hdc2tog, repeat from * to * around. Join with sl st. (24 sts)
- Rnd 22: hdc2tog around. Join with sl st. (12 sts)
Finishing
Cut the yarn, leaving a 10-inch tail. Thread the tail onto a tapestry needle and weave it in and out of the remaining 12 stitches. Pull tight to close the circle. Secure the thread on the inside and trim.
Care & Washing Instructions
- Hand wash in cool water with a mild wool-safe detergent.
- Gently squeeze out excess water using a towel and lay the hat flat on a dry surface to air dry.
- Do not hang the hat to dry, as the weight of the water can cause the stitches to stretch and distort the shape.
Pro Tips & Common Mistakes to Avoid
- Keep your tension consistent, especially when working the ribbing, to ensure the brim remains snug against your head.
- Use a stitch marker at the beginning of each round to avoid losing your place when working the body.
- Weave in your yarn ends by traveling under the stitches on the inside of the hat for at least two inches to prevent them from unraveling with wear.
- Adjust the size by adding or subtracting sets of 8 stitches in the crown shaping rounds; ensure the total stitch count at the start of Rnd 16 is divisible by 8 for the decreases to remain even.
Frequently Asked Questions
Can I use a different yarn weight for this pattern?
Changing the yarn weight will significantly alter the size. A lighter yarn will make the hat smaller, while a bulkier yarn will make it larger, requiring adjustments to the foundation chain and the number of stitches in each round.
Is this pattern suitable for someone who has never crocheted before?
Yes, this pattern uses basic stitches. If you know how to chain, single crochet, and slip stitch, you have all the skills needed to complete this beanie.
How do I adjust the height of the hat?
To make the hat taller or shorter, simply work more or fewer repetitions of Rnd 2 in the body section before beginning the crown shaping.
Can I sell the finished hats made from this pattern?
You are welcome to sell items made from this pattern as long as you credit the original design and use your own photographs to represent the product.
Seeing your handmade accessory come to life with that charming stem on top brings a special sense of accomplishment during the colder months. You might consider holding two strands of yarn together for a chunkier, oversized version or using a variegated cotton for a unique mottled effect. Please share a photo of your finished work on your favorite social media platform so we can see your progress. Browse the rest of our archives to find more free projects for your next afternoon of stitching.