35+ Free Amigurumi Toy Patterns for Beginners to Crochet
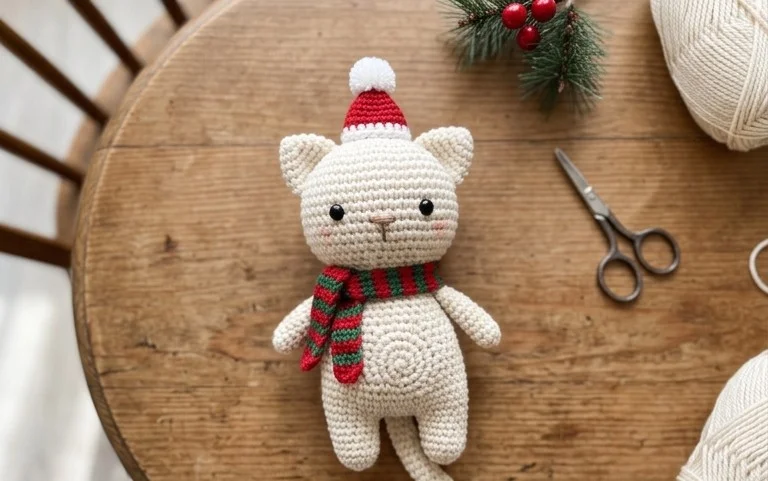
Soft, squishy handmade toys bring a sense of warmth to any shelf or nursery, especially when you have shaped them with your own hands. Working on these small characters provides a sense of accomplishment that feels much greater than the time spent, which is usually under two hours. Beginners often find that mastering the simple increase and decrease stitches allows for endless creative possibilities in future projects. You will learn how to maintain consistent tension and shape rounds to create professional figures. These designs rely on basic techniques, ensuring you can produce high-quality gifts even if you are just starting out.
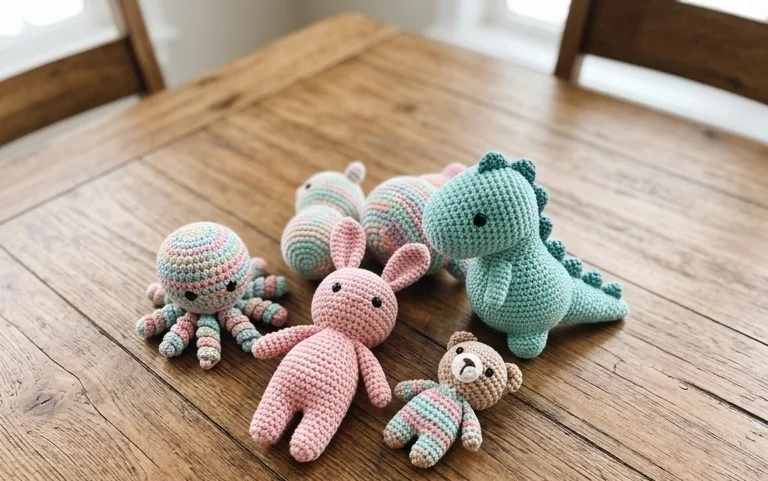
Why You Will Love This Pattern
This beginner-friendly project works up quickly using basic single crochet stitches, making it an ideal choice for crafters looking to build confidence with 3D construction. Because the design requires very little yarn, it serves as a practical way to use up leftover bits of worsted weight acrylic from your stash. You can complete the entire project in a single evening, which makes these items perfect for last-minute handmade gifts or seasonal market inventory. The simple, rhythmic nature of the continuous rounds offers a relaxing experience that allows you to crochet while listening to a podcast or watching television.
I was nervous about trying my first amigurumi project, but this pattern is so clear that I finished my first one in under two hours without any confusion.
— Sarah, hobbyist crafter
Pattern Overview & Skill Level
- Skill Level: Beginner
- Approximate Time: 1.5 to 2 hours
- Construction: Amigurumi-style continuous rounds starting with a magic ring
- Finished Dimensions: 4 inches tall by 3 inches wide
Materials & Supplies Needed
- Yarn: Worsted weight (#4) acrylic yarn, approximately 30 yards for the main body and 5 yards for accents.
- Hook Size: 3.75 mm / F-5.
- Notions: Polyester fiberfill stuffing, stitch markers, a blunt-tipped tapestry needle, and two 8mm plastic safety eyes.
- Yarn Substitutions: Cotton yarn of the same weight creates a firmer, more structured finish, though it may require you to go up one hook size to maintain your usual tension. Wool can be used for a softer touch, but keep in mind that it will not hold its shape as crisply as acrylic.
Stitch Guide & Abbreviations (US Terms)
- MR: Magic Ring. A method of starting rounds by working stitches into an adjustable loop.
- ch: Chain.
- sc: Single crochet.
- inc: Increase. Work 2 sc in the same stitch.
- dec: Decrease. Use the invisible decrease method: insert your hook into the front loops of the next two stitches, yarn over, pull through both front loops, yarn over, and pull through the remaining two loops on your hook.
- sl st: Slip stitch.
- st/sts: Stitch/stitches.
Step-by-Step Pattern Instructions
Main Body
Work in continuous rounds without joining at the end of each row. Place a stitch marker in the first stitch of every round to track your progress.
- Rnd 1: Start 6 sc in a magic ring (6 sts).
- Rnd 2: Work 2 sc in each st around (12 sts).
- Rnd 3: 1 sc, inc repeat from * to * 6 times (18 sts).
- Rnd 4: 2 sc, inc repeat from * to * 6 times (24 sts).
- Rnd 5: 3 sc, inc repeat from * to * 6 times (30 sts).
- Rnds 6–10: Sc in each st around (30 sts).
- Rnd 11: 3 sc, dec repeat from * to * 6 times (24 sts).
- Rnd 12: 2 sc, dec repeat from * to * 6 times (18 sts). Insert safety eyes between rounds 8 and 9, spaced 5 stitches apart. Stuff the body firmly with fiberfill.
- Rnd 13: 1 sc, dec repeat from * to * 6 times (12 sts).
- Rnd 14: Dec 6 times (6 sts).
Finishing
Cut the yarn leaving a 6-inch tail. Thread the tail onto your tapestry needle and weave it through the front loops of the final 6 stitches. Pull the tail tight to cinch the hole closed. Secure the yarn with a knot and bury the remaining tail inside the body.
Care & Washing Instructions
- Hand wash your finished item in cool water using a mild detergent to maintain the shape of the stuffing.
- Do not wring or twist the item; instead, gently press it between two towels to remove excess water.
- Reshape the item while it is still damp and allow it to air dry completely on a flat surface away from direct sunlight.
Pro Tips & Common Mistakes to Avoid
- Maintain tight, even tension throughout the project to ensure the stuffing does not show through the gaps between stitches.
- Always use a stitch marker at the start of every round; since you are working in continuous spirals, it is easy to lose your place without one.
- To weave in your ends invisibly, feed the yarn tail through the body of the work several times in different directions, then trim the yarn close to the surface so the end snaps back inside.
- If you want to make a larger version of this pattern, you can use a bulky weight yarn and a 5.0mm hook, but keep in mind this will require roughly 50 percent more yarn than the original size.
Frequently Asked Questions
Can I use a different weight of yarn for this pattern?
Yes, you can use any weight of yarn, but you must choose a hook size that creates a tight fabric. If you use a thicker yarn, the finished item will be larger, and if you use thinner yarn, it will be smaller.
Is this project suitable for a total beginner?
This pattern is excellent for beginners because it uses only one basic stitch. If you know how to make a magic ring and single crochet, you have all the skills needed to finish this.
How do I prevent gaps between my stitches?
To avoid gaps, focus on maintaining consistent tension. If you still see holes, try dropping your hook size by 0.5mm to create a denser fabric.
Can I sell the finished items made from this pattern?
You are welcome to sell finished items created from this pattern. I only ask that you credit the design back to this website whenever you list them for sale.
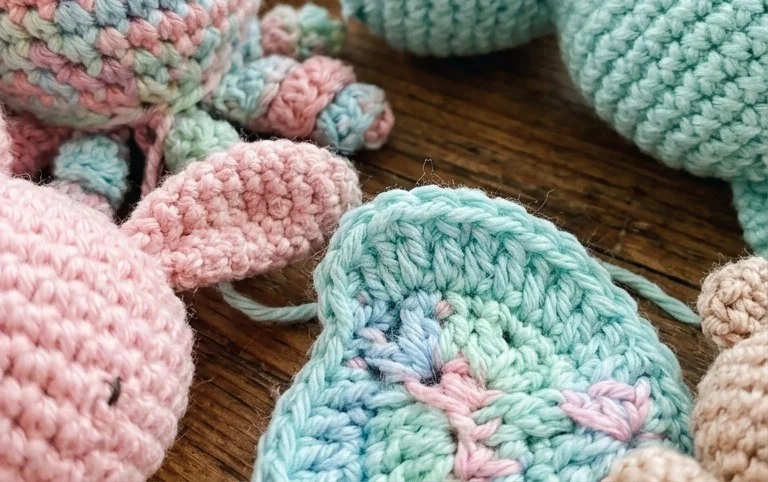
Finishing these charming figures brings a genuine sense of pride that only handmade items provide. You can modify the appearance of your toys by using fuzzy mohair yarn for a soft texture or switching to bold, bright colors for a modern aesthetic. Sharing photos of your completed projects helps others find inspiration for their own yarn stash. Explore our other free patterns on the blog to build your collection of handmade gifts. There is always room for one more tiny friend on your desk or bookshelf.