Easy Crochet Spa Cloth Free Pattern: Step-by-Step Guide
A clean spa cloth resting on a bathroom vanity adds a touch of simple utility to your morning routine. Cotton fiber feels cool and firm in your hands, creating a fabric that holds its shape through countless hot water rinses. This project suits anyone building their confidence with a hook, as the steady rhythm of the moss stitch creates a dense, scrubby texture that hides minor irregularities. You will learn to manage uniform turning chains and maintain even edges while crafting a practical item that lasts for years. Making your own household linens brings a quiet sense of accomplishment to an afternoon spent at home.
Why You’ll Love This Pattern
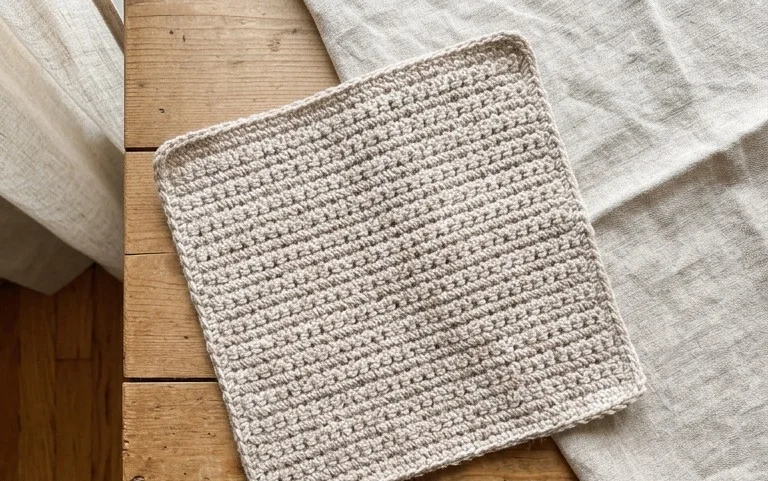
The Classic Crochet Spa Cloth is a staple project that turns a simple ball of cotton yarn into a functional, textured item for your home. This pattern uses the moss stitch to create a dense, scrubby fabric that remains soft against the skin while providing enough exfoliation for daily washing. Because the project works in a back-and-forth row format, it is an ideal candidate for practicing even tension and learning how to handle turning chains. You will find that the rhythm of the moss stitch allows for a meditative crafting experience, making it perfect for relaxing after a long day.
This cloth consumes very little yarn, meaning you can finish a full set using just one skein of standard kitchen cotton. It also serves as an excellent gift, as handmade bath items offer a personal touch for housewarmings or birthday bundles. Once you master the repeat, you can easily adjust the width or length to suit your preference, whether you need a smaller face round or a larger washcloth.
I finally learned how to keep my edges straight thanks to this tutorial. The texture is exactly what I wanted for my guest bathroom set.
— Sarah, beginner crocheter
Pattern Overview & Skill Level
- Skill Level: Beginner
- Approximate Time: 1.5 to 2 hours
- Construction: Flat panel worked in rows
- Finished Dimensions: 8 inches by 8 inches
Materials & Supplies Needed
- Yarn: Worsted weight #4, 100% cotton, approximately 80 yards. Cotton provides the absorbency and heat resistance necessary for bath textiles.
- Hook Size: 5.0 mm (H-8). This size ensures the stitches are tight enough to provide structure but loose enough to maintain drape.
- Notions: Tapestry needle for weaving in ends, scissors, and a measuring tape to ensure gauge.
- Safe Yarn Substitutions: You may use a cotton-acrylic blend, though this will slightly reduce the absorbency of the cloth. Avoid wool, as it does not withstand frequent high-temperature laundering.
Stitch Guide & Abbreviations (US Terms)
- ch = chain
- st/sts = stitch/stitches
- sc = single crochet
- sk = skip
- sp = space (refers to the chain-1 space)
- Moss Stitch: A sequence of sc and ch-1, skipping stitches to create a woven appearance.
Step-by-Step Pattern Instructions
Main Body
Chain an odd number of stitches to your desired width. For this 8-inch square, start with 35 chains.
- Row 1: Sc in the 4th ch from the hook. *Ch 1, sk 1 ch, sc in the next ch. Repeat from * across until 1 ch remains. Sc in the last ch. (17 sc, 16 ch-1 spaces)
- Row 2: Ch 2, turn. Sc in the first ch-1 space. *Ch 1, sk the sc, sc in the next ch-1 space. Repeat from * across. End with 1 sc in the turning chain space. (18 sc, 17 ch-1 spaces)
- Rows 3–35: Repeat Row 2 until the piece measures 8 inches long.
Finishing
Once you reach the desired length, fasten off your yarn, leaving a 6-inch tail. Use your tapestry needle to weave the tail back and forth through the base of the final row to secure it. Trim any excess yarn close to the fabric, being careful not to cut the stitches.
Care & Washing Instructions
- Machine wash in warm water on a gentle cycle to preserve the integrity of the cotton fibers.
- Tumble dry on low heat or lay flat on a clean towel to air dry, which helps prevent shrinking.
- If the cloth loses its shape after drying, dampen it slightly and pull the corners to stretch it back into a perfect square.
Pro Tips & Common Mistakes to Avoid
Maintain consistent tension throughout the project by keeping the yarn tail tensioned through your non-dominant hand. If you notice your cloth looks like a trapezoid, you are likely missing the final stitch in each row; always count your stitches before turning. Using a stitch marker in the first chain-1 space of each row helps you identify where to place your hook for the final stitch of the following row. To adjust the size, simply increase your starting chain by an even number; remember that each additional 2 chains will require approximately 3 to 5 extra yards of yarn.
Frequently Asked Questions
Can I use a different yarn weight for this pattern?
Yes, you can use DK or bulky weight yarn, but you will need to adjust your starting chain count and hook size. Always check your gauge to ensure the fabric remains dense enough for a washcloth.
Why is my cloth curling at the edges?
Edge curling usually occurs when the tension is too tight. Try going up one half-size in your crochet hook to relax the stitches or ensure your turning chain is not pulled too taut.
Is this pattern suitable for someone who has only learned the basic chain stitch?
Absolutely. The moss stitch is the next logical step after learning single crochet and chain stitches, as it uses only those two techniques in a repeating sequence.
Am I allowed to sell the cloths I make from this pattern?
You may sell finished items made from this pattern, provided you credit the design. Please do not redistribute the written instructions themselves or use these photographs for your own listings.
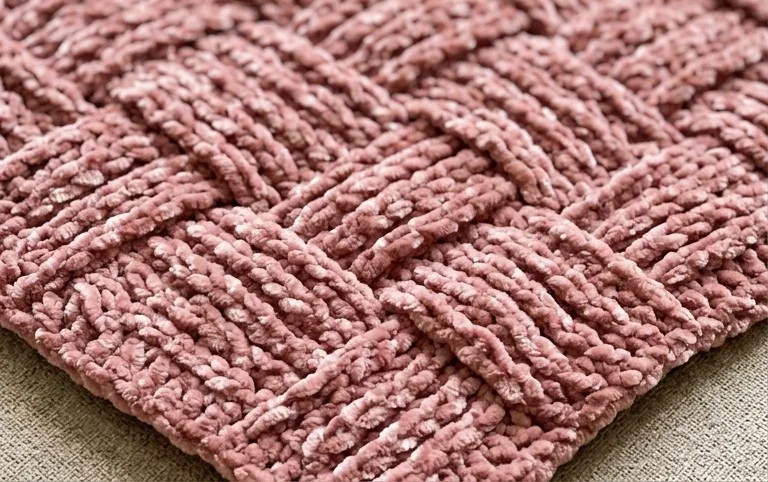
Your finished cloth works hard in the kitchen or bath, standing up to daily use and frequent machine washing without losing its shape. Consider working with two alternating colors to create a subtle striped effect that coordinates with your current decor. Sharing a photo of your work helps others see how different shades of cotton look in a real home setting. I encourage you to browse the rest of the site for more simple designs that turn basic yarn into useful goods for your daily life.